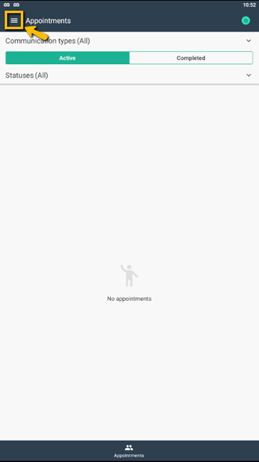
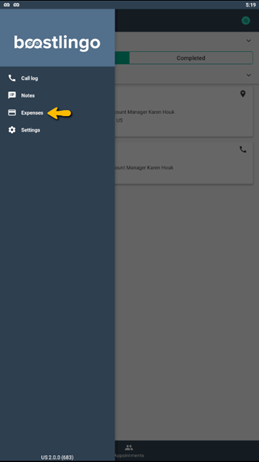
Expenses, such as fuel/mileage, travel time, and parking/tolls, etc. are visible in the Expenses section of the Unified mobile app. To access, tap the 3 horizontal lines at the top left of the app, then select Expenses.
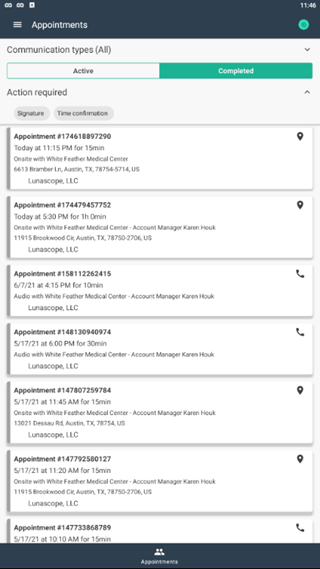
To add a new expense to an appointment, navigate to the Appointments>Completed tab, then select the desired appointment.
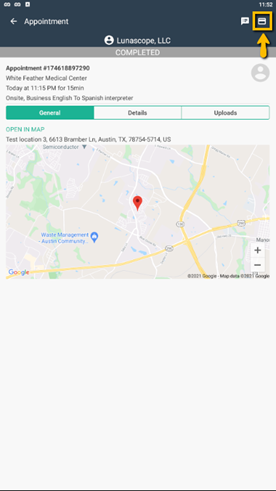
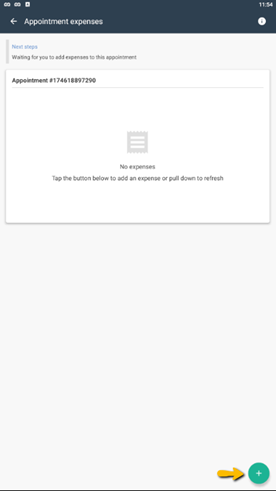
In the Appointment view, tap the Expense icon at the top-right of the app screen. Here you can view all expenses that have been added to the appointment. To add a new expense, tap the round ‘+’ button on the bottom right of the screen.
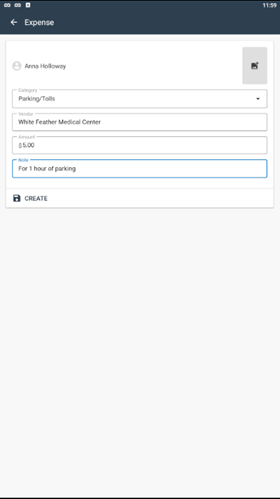
Choose a category, then fill the text fields displayed by the category. Once entered, tap Create.